Monday, April 30, 2012

Portobello Cheese 'Steak' Sandwich (Meatless Meal Idea)


If you are looking for a meatless meal, Portobello Cheese 'Steak' Sandwiches are a tasty alternative to the meat version.

Portobello Cheese 'Steak' Sandwiches

Ingredients

2 tablespoons olive oil
3 garlic cloves, minced
1 red onion, sliced into thin strips
1 red or green bell pepper, sliced into thin strips
2 large portobello mushrooms, 6 - 8 oz total, remove gills and stems, sliced into thin strips
½ teaspoon coarse kosher salt
½ teaspoon ground pepper
1 tablespoon Worcestershire sauce
8 tablespoons shredded mozzarella cheese
4 large rolls

Directions

1. In a large skillet, saute the olive oil, garlic, onion, and peppers over medium-low heat until the vegetables are softened, about 5 minutes.
2. Add the mushrooms, salt, and pepper and cook for another 5 minutes, stirring occasionally.
3. Add the Worcestershire sauce and stir well to combine. Cook for another 2 minutes.
4. Load up each roll with the mushroom mixture. Top each sandwich with 2 tablespoons of mozzarella cheese.

Thanks for reading. If you would like to receive FREE updates of FBS, there are four ways to do so:
Follow Me on Pinterest

This post is linked to Ultimate Recipe Swap at Life as MOM and Real Food Wedneday at Kelly the Kitchen Kop.

Monday, April 23, 2012

Baked Salmon Packets


Baking salmon in foil packets is a super easy to cook salmon. The ingredients are simple: salmon and any seasonings and spices that you have on hand. Easy!

Baked Salmon Packets

1. Preheat oven to 400 degrees.

2. You'll need a piece of foil large enough to fold up into a packet. I wrapped in 1/2 pound portions. Spray the foil with non-stick spray or olive oil spray.

3. Place the salmon on the foil, skin side down.

4. Drizzle salmon with olive oil and sprinkle with your favorite seasonings. I used minced garlic, salt, pepper, a little lemon juice, and topped with lemon slices.


5. Wrap up the salmon. Bring the long ends together and fold down. Fold the ends in, as per the picture below. Place on a rimmed baking sheet


6. Bake for 20 minutes or until salmon flakes easily when pierced with a fork.


Thanks for reading. If you would like to receive FREE updates of FBS, there are four ways to do so:
Follow Me on Pinterest

Thursday, April 19, 2012

Green Living: There's Always Room for Improvement

As a family, we try to be good stewards of our environment:

But when I took our recycling bins out to the curb this week, I noticed that there is still room for improvement...


What is one green thing that you can improve on? Let us know in the comments.

Thanks for reading. If you would like to receive FREE updates of FBS, there are four ways to do so:
Follow Me on Pinterest

Tuesday, April 17, 2012

Square Foot Gardening: Spring Clean Up

We spent Easter weekend sprucing up our front and back yard landscaping. We spent this past weekend, cleaning up my square foot garden.

As you can see, it needed some attention:


Some of the 'weeds' in the picuture is the mint that I naively planted 10 years ago when we built my garden box. Do yourself a favor and plant your mint in a container unless you want to spend your spare time yanking it from your garden. It is the most invasive plant known to man!

converted the box to the square foot garden method until 2 years ago. By following sfg, I plant about twice as much as I did before switching.

Last spring, I replaced the original dirt with the square foot gardening soil mix. There was an initial investment, but those weeds in the above photo were a breeze to pull out. My old soil was hard, cakey, and extremely weedy. My plants benefited from the new soil too.

I filled the box up with more leaf compost, because the soil had settled  over the past year. Now, I'm ready to plant.

I was surprised to find that 3 herbs survived the mild winter: thyme, parsley, and oregano.


My blueberry bushes have lots of flowers that will hopefully turn to delicious berries soon. I need to get a net over these bushes before that happens though or the birds will be dishing on the berries before we get a chance to.


My garden is ready for May 15, the last day of frost for my region.

Have you opened up your garden yet? Let us kow in the comments.

To learn more about square foot gardening, check out Mel Bartholomew's book, All New Square Foot Gardening.

Thanks for reading. If you would like to receive FREE updates of FBS, there are four ways to do so:
Follow Me on Pinterest

Disclosure - This post contains affiliate links that help support this site at no additional cost to you. Thank you for supporting Family Balance Sheet! You can read the site's full disclosure here.

This post is linked to Tuesday Garden Party at An Oregon Cottage.

Monday, April 16, 2012

Whole Chicken in a Crock Pot

Life has become very hectic lately and I found myself in search of less time consuming recipes. While we love Roasted Chicken, I just didn't have the two hours to make it for dinner. But that whole chicken in my freezer needed to be used, so instead of the oven, I reached for my crock pot. It is super easy and when I came home from work that day, dinner was ready.

The instructions are simple:


Remove the whole chicken from its packaging and remove the bag in innards inside the chicken cavity. Place the innards in a bowl and set aside in the refrigerator. Rinse and pat dry the chicken with a paper towel. Sprinkle the inside with salt and pepper and place the whole chicken inside the crock pot.

Sprinkle the outside with your favorite seasonings. I slid some peeled, whole garlic cloves under the chicken skin and put a few inside the chicken cavity. I also sprinkled the outside with kosher salt and ground black pepper.


Put the lid on the crock pot and turn on low for 7 - 7 1/2 hours. My chicken had a popup thermometer, but you could insert a meat thermometer in the thickest part of the cut of meat without touching the bone to check for doneness. The chicken is considered done at 180 degrees.

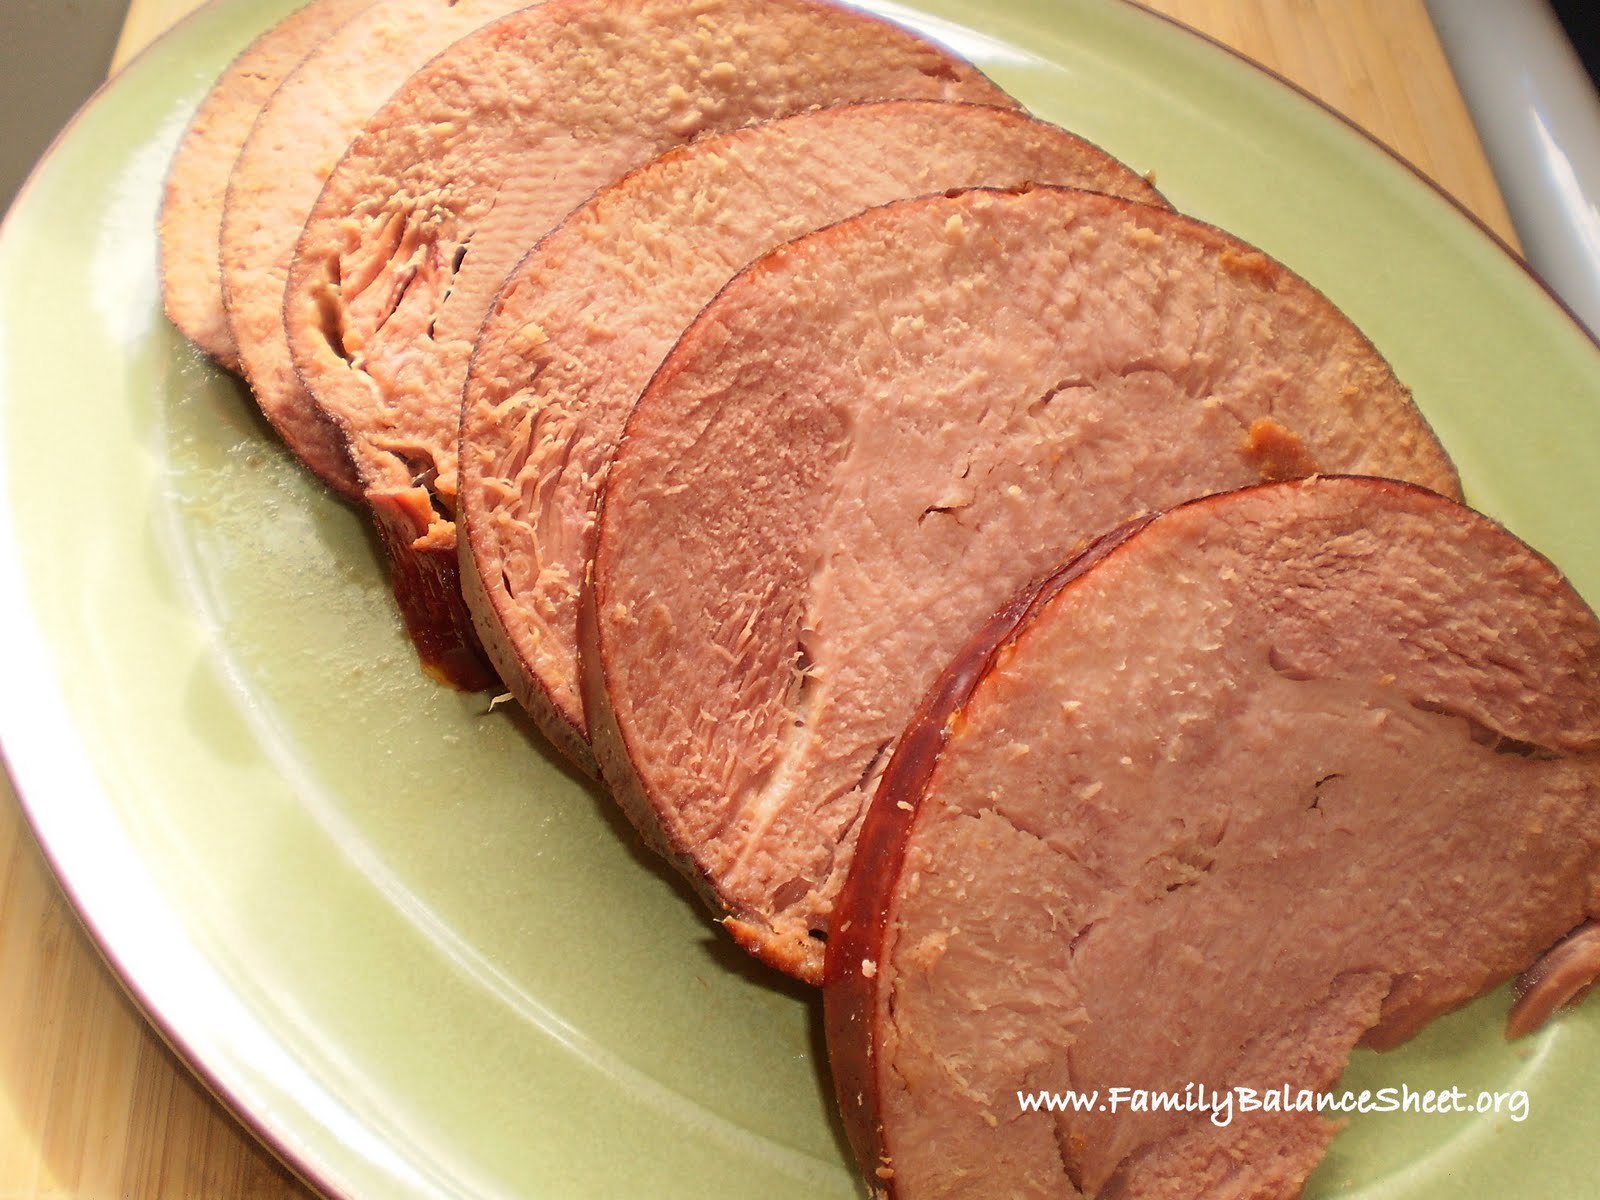
Viola! Dinner is ready. Really, could it be any easier?


When the chicken is done, allow it to rest for 15 minutes before cutting into it to prevent the chicken from drying out.

Also, DON'T THROW OUT THE BONES AND STOCK! It's time to make homemade chicken stock.

Keep the broth from the chicken in the crock pot. Add the bones and skin.


You can also add:
  • 1 onion, cut into quarters
  • 2 carrots, cleaned and roughly chopped
  • 2 celery ribs, cleaned and roughly chopped
  • 1 head of garlic, outer papery layer removed and cut in half horizontally
  • handful of parsley sprigs,
  • 2 bay leaves
  • 2 teaspoons kosher salt
  • 1 teaspoon whole peppercorns
  •  the innards (this is totally optional, but if you do include the innards, exclude the liver which makes the stock bitter)
Fill the crock pot with water. Put the lid on and and turn on low overnight.


The next day.


Allow the stock to cool. Strain the stock through a sieve into a large bowl.


You may use the stock immediately or allow to cool completely and store in the refrigerator overnight. The next day, skim any fat that has risen to the top. Pour into freezer containers to keep in the freezer. I like to store in 32 oz, 16 oz and 8 oz portions.

The crock pot stock technique can also be done with the leftovers from roasted chicken, roasted turkey, and I have even done it with the rotesserie chickens from the grocery store.

Have you ever cooked a whole chicken in a crock pot? What are your favorite spices for chicken? Do you make your own chicken stock? Let us know in the comments.

Thanks for reading. If you would like to receive FREE updates of FBS, there are four ways to do so:
Follow Me on Pinterest

Wednesday, April 11, 2012

How Do You Organize Paperwork, Both Online and Off?


Today, I'm answering a question posed to me by BlogHer's Life Well Lived Campaign, "how do you organize paperwork, both online and off?"

I have written before about how I organize our offline paperwork:

2012 is the year that my husband and I are trying to go more paperless with our personal and business paperwork.

Currently, at our business I have started to scan more documents and save them on the computer. After I scan, I shred the documents. That was a huge step for me and something I never thought I would do, but honestly we're running out of room to store all of our office paper work. In the business that we are in, there are laws on how long we need to keep documentation. Our lack of space has pushed us to start scanning and shredding.

At home, it is another story. I have yet to purchase a scanner for my home office, but my husband is pushing me in that direction. However, I have stopped printing receipts that I receive online and instead I have created folders in my email account to file the receipts.

Baby steps...

How do you organize paperwork, both online and off? Let us know your tips and tricks in the comments.

Also, hop on over to Life Well Lived and read, Ten Ways to Organize Your Papers - Offline and Online. While you are there, enter the current Life Well Lived Moments Sweepstakes for a chance to win an iPod Touch and a $50 iTunes gift certificate.

Thanks for reading. If you would like to receive FREE updates of FBS, there are four ways to do so:
Follow Me on Pinterest

Tuesday, April 10, 2012

Front Yard Landscaping: Spring Clean Up!

We spent the past weekend yanking weeds, trimming the edges, spreading mulch, and sprucing up our front yard landscaping. We clean up the front yard every April and the project always seems so overwhelming when the mulch is delivered.


BUT. IT. NEEDED. DONE!


Weeds...


weeds...


and more WEEDS.


In place of wood chips, we buy leaf compost from our township. It is less expensive than the wood chips and that big pile in our driveway (above) only cost $35.

Doesn't mulching make a world of difference? Much more appealing.


Now we're just waiting for the perennials to grow. I'll fill in with some colorful annuals after Mother's Day.


I also need to figure out what we are going to plant under our bay window. It has been a problem area ever since we re-did our landscaping in 2007. We have planted several things there and they have not survived. While plants in other areas of the landscape have flourished. I guess I'll be taking a trip to the nursery for advice and ideas.

Doesn't it look pathetic?

We spent a lot of time and sweat equity re-landscaping our front yard and I have spent a lot of time writing about the process. Here are some of my top landscaping posts:
Have you spruced up your front yard landscaping this spring?

Thanks for reading. If you would like to receive FREE updates of FBS, there are four ways to do so:

Follow Me on Pinterest

Monday, April 9, 2012

Banana Walnut Baked Oatmeal


I am running a half marathon in May. I head out the door for my training runs early in the mornings before my family wakes up and I'm starving when I get back to the house. This Banana Walnut Baked Oatmeal hits the spot. It's hearty, nutty, tasty and gets me through the morning.

Banana Walnut Baked Oatmeal

Ingredients

  • 2 cups old-fashioned oats, uncooked
  • ½ cup packed brown sugar
  • 1 tsp baking powder
  • 1 ½ cups 2% milk
  • ½ cup homemade applesauce, or store-bought
  • 1 tsp vanilla
  • 2 Tbsp butter, melted
  • 1 large egg
  • 2 over-ripe bananas, mashed
  • 1/2 cup chopped walnuts

Instructions

1. Preheat oven to 375 degrees.

2. Mix the oats, brown sugar, and baking powder. Add the milk, applesauce, butter, and egg and mix well. Fold in the bananas and walnuts.

3. Prepare a baking dish with non-stick spray. Pour the batter into the dish and sprinkle the pecans on top. Bake at 375 for 20 minutes.

Print recipe for Banana Walnut Baked Oatmeal

Thanks for reading. If you would like to receive FREE updates of FBS, there are four ways to do so:
Follow Me on Pinterest

Monday, April 2, 2012

Easter Dinner & Leftover Ideas {From My Archives}

Are you hosting a large gathering for Easter dinner? Or are you taking a dish and letting someone else do the hosting? My mom and grandmother always host a large family get-together, but everyone brings a dish. I haven't gotten my assignment yet, but it will probably be some type of dessert or side dish.

If you are in charge of baking the Easter ham, I learned this method from my mother. The ham always turns out tasty and moist.

How to Bake a Ham


Asparagus season is here; who else is excited?? Roasted asparagus is my preferred method of cooking.

Roasted Asparagus with Garlic and Parmesan


Got ham? Here are two yummy recipes to use with the leftover ham from Easter dinner:

Ham and Asparagus Frittata


Ham and Asparagus Risotto


What will you be serving for Easter? Do you have any recipe ideas to share? Let us know in the comments.


Thanks for reading. If you would like to receive FREE updates of FBS, there are four ways to do so:
Follow Me on Pinterest